 rmux
VS Code + rmux · macOS
A terminal workspace
for your VS Code projects.
Keep editing in VS Code. Keep your shells, dev servers, and coding agents together in rmux. Press ⌘⇧C to switch to the current project.
Requires rmux 0.1.7 or later. Local macOS projects.
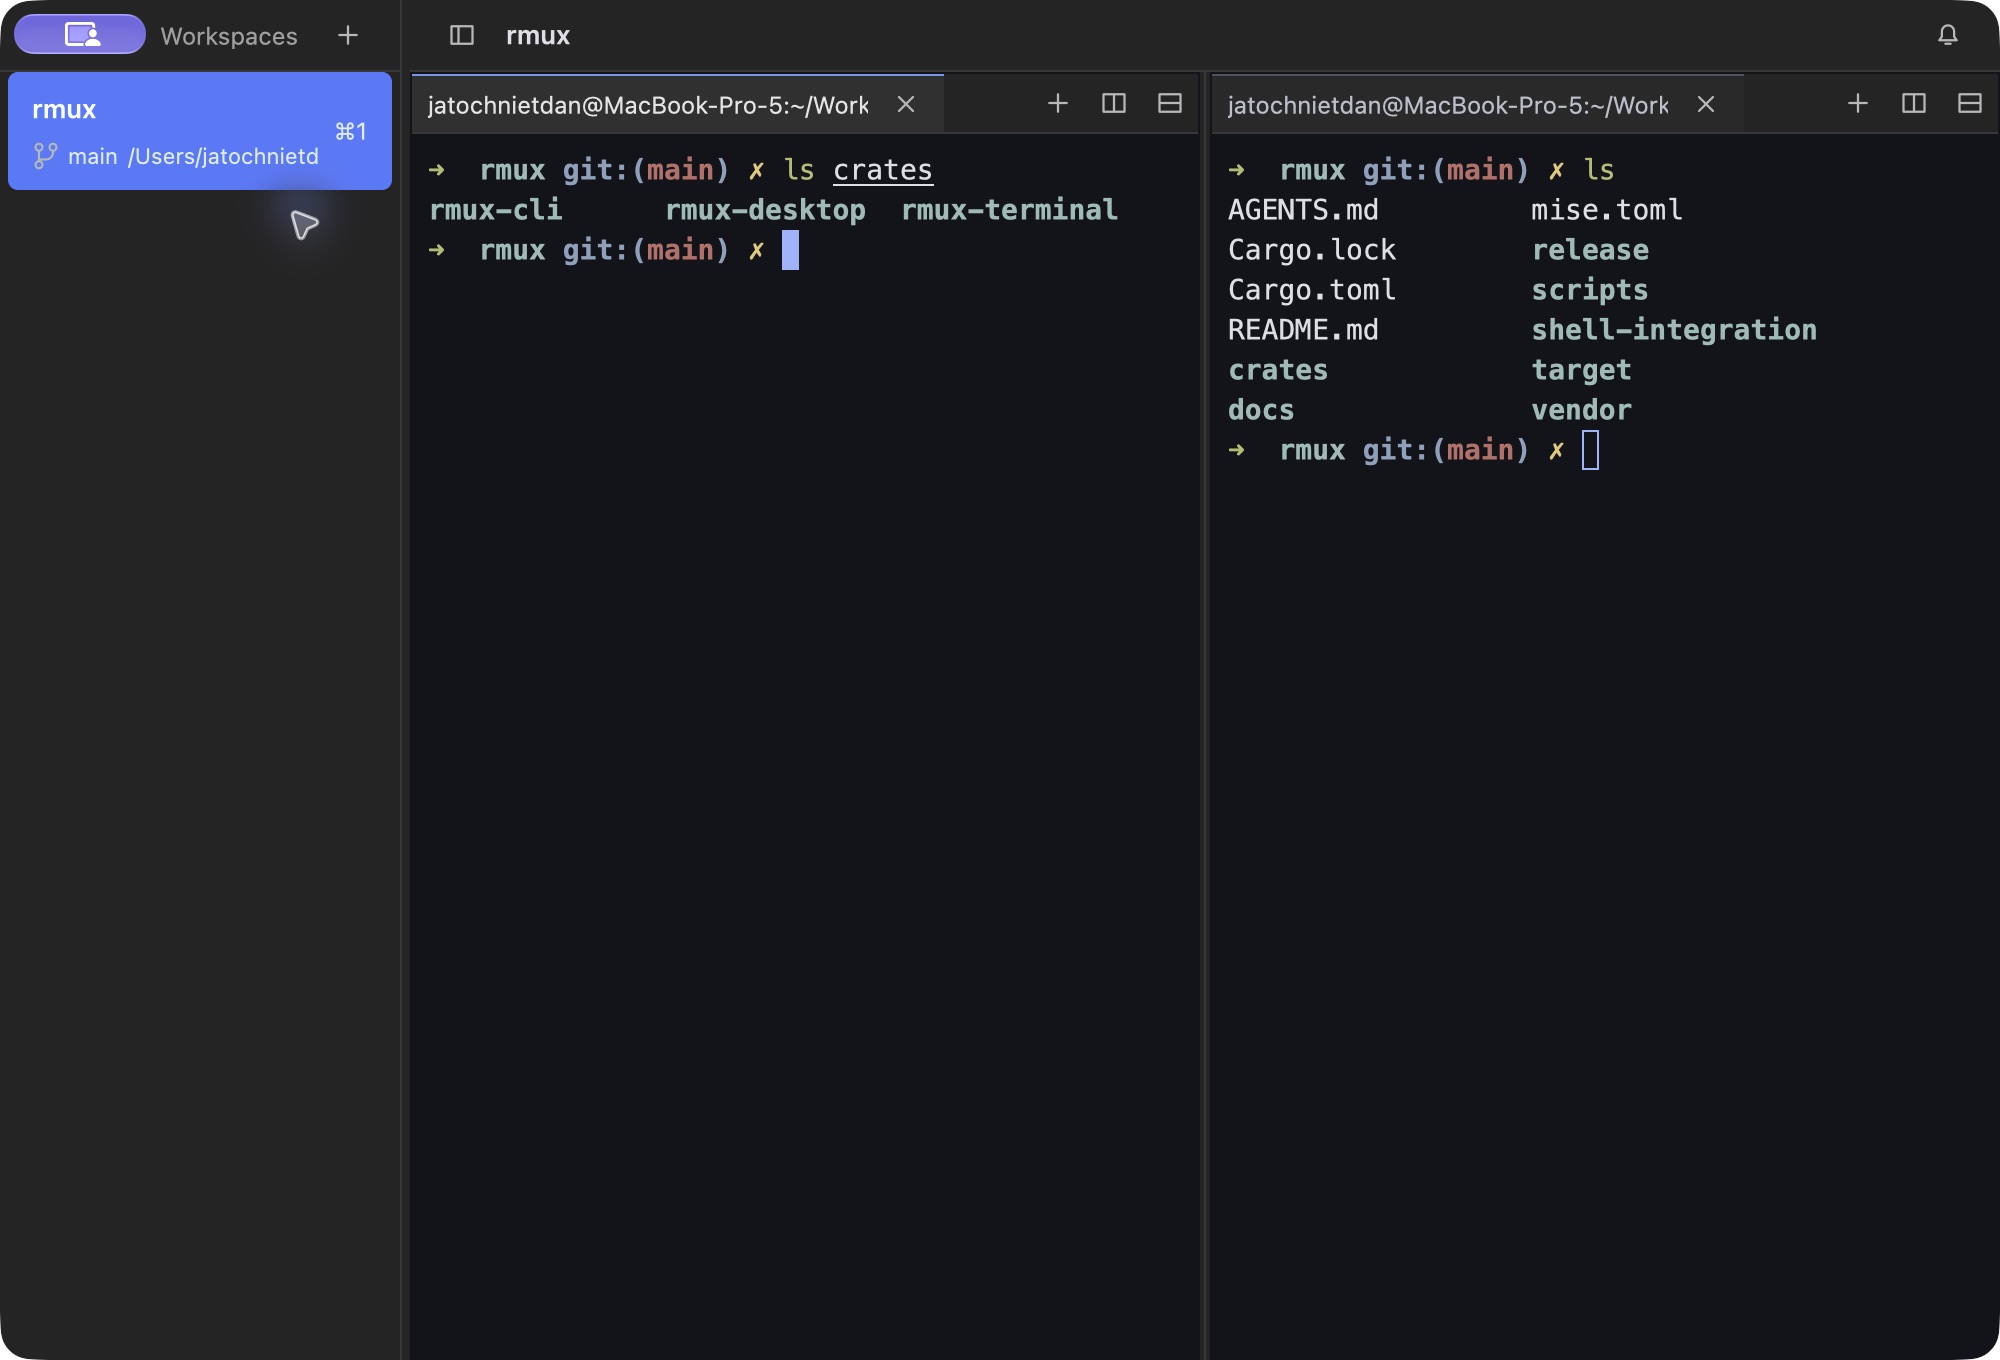
Return to the same terminals
The first shortcut opens a workspace named after your project folder. Press it again to reuse that workspace, with its processes and layout intact.
Keep the editor clear
Arrange a shell, server, and agent in split panes. rmux is a native Rust app built around Ghostty and GPU rendering, with responsiveness and memory use as development priorities.
Read the performance measurementsOne setting
Use the shortcut you already know
Install rmux in Applications. In VS Code, open Preferences: Open User Settings (JSON) and add:
"terminal.external.osxExec": "/Applications/rmux.app"Open a local project folder and press Cmd + Shift + C. rmux launches if needed and opens or reuses the project workspace.
No extension, tasks, extra flags, or socket setup. If you previously bound this shortcut to a task, remove that binding to restore VS Code's default external-terminal command.
Switch back to your editor
Use Cmd+Tab, or bind a background command in rmux to focus VS Code. The workflow guide includes a ready-to-use shortcut.
A few things to know
In rmux 0.1.8 and later, projects are matched by folder path. Projects with identical folder names stay separate, and renaming a workspace keeps its project association. Existing shells keep their processes and working directories.
This setup is for local macOS folders. Remote SSH and containers need a separate workflow. macOS controls switching between Spaces; cross-Space behavior is still being verified.